



Speciality Custom Stickers

From R250
  • Welcome to our speciality sticker page – be prepared to be impressed!
  • Bringing you finishes and effects that push the boundaries of sticker design.
  • Explore a range of distinctive vinyl choices to elevate your stickers.
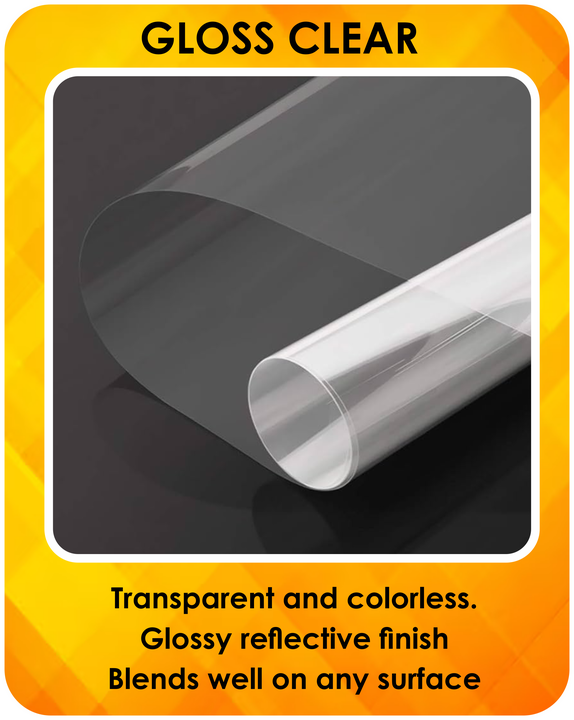
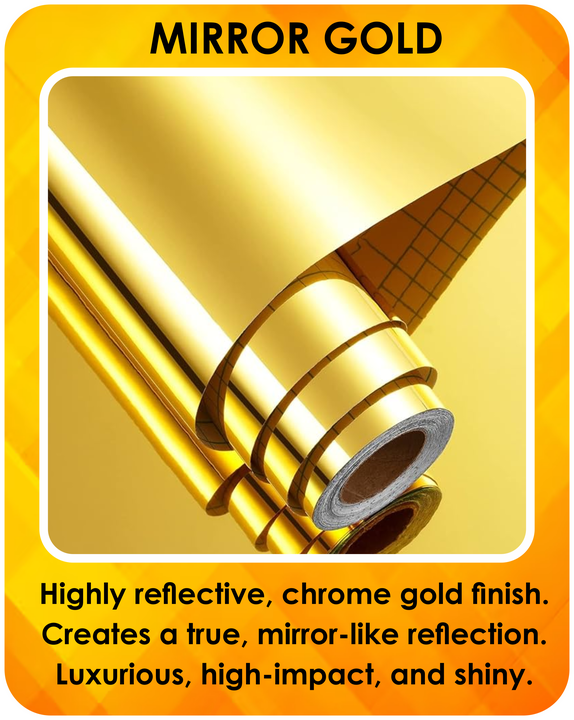
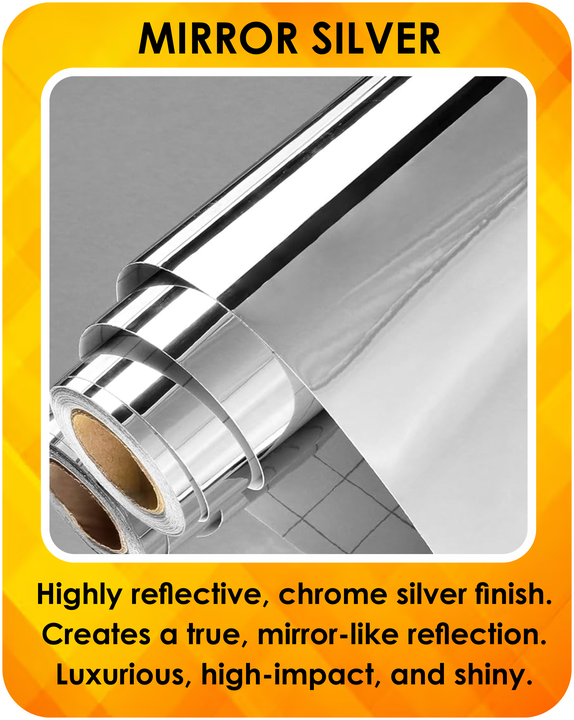
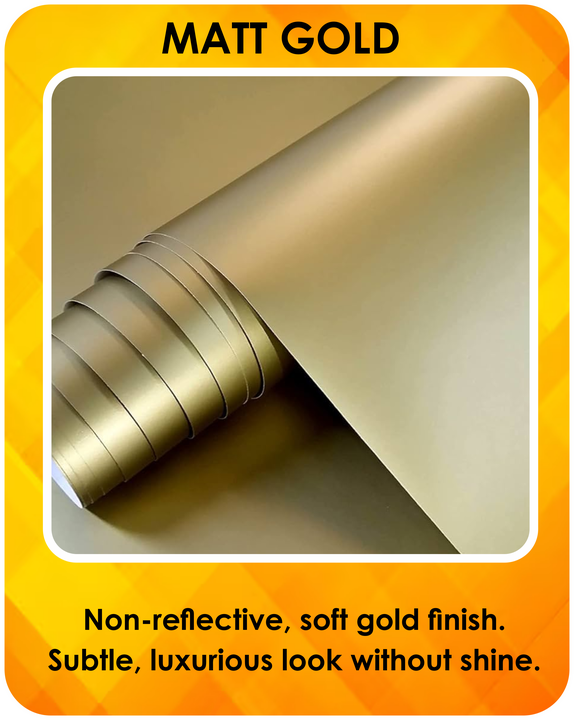
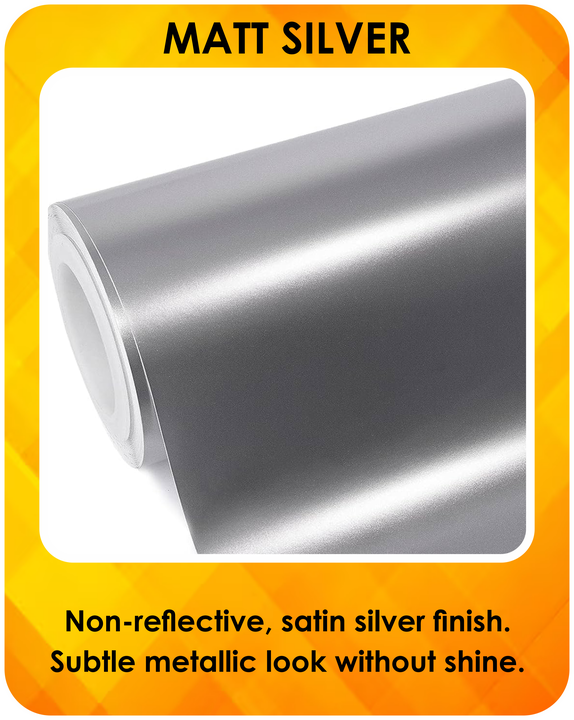
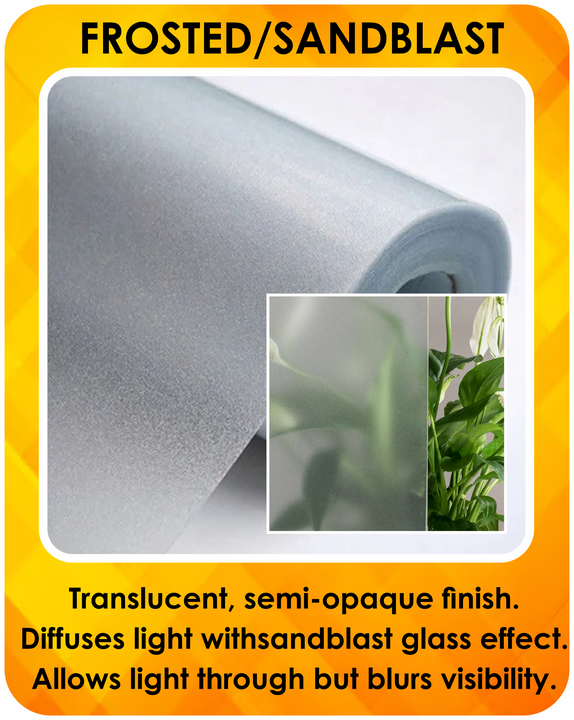
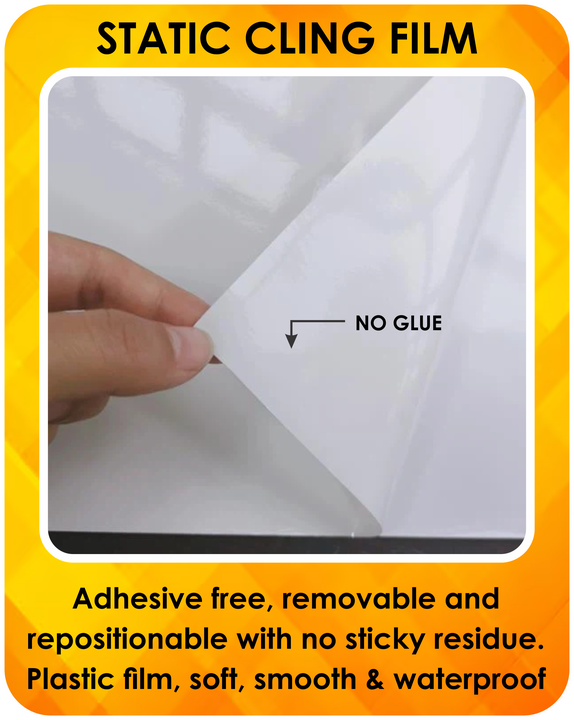
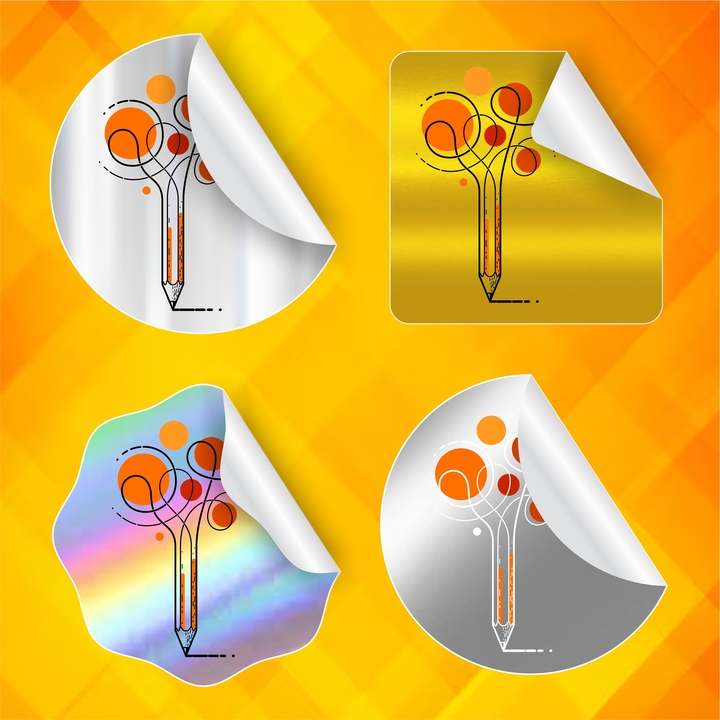
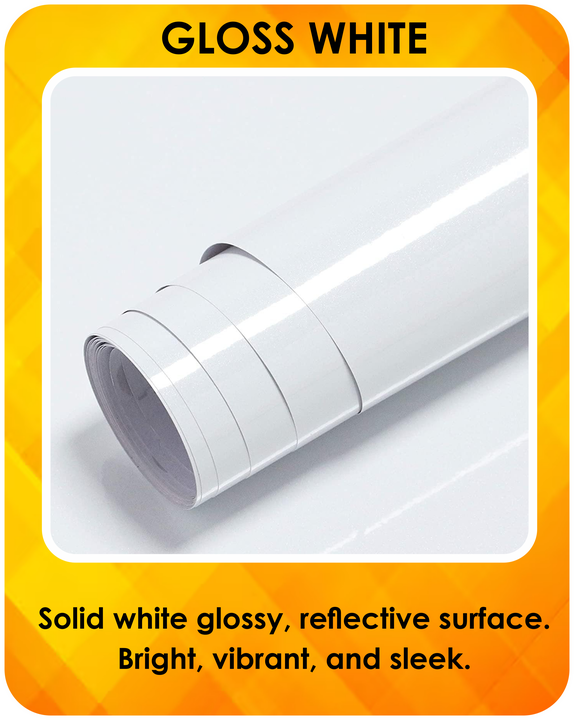
  • Gold, Silver, Holographic, Frosted, and Static Cling vinyl options.
  • Our exclusive print capabilities give you access to unique printing techniques only available at P3 Printing.
  • White and Clear Ink for Spot Gloss options.
  • Spot Gloss adds impressive tactile and visual dimensions to surfaces.
  • Braille option available for all your labelling needs.
  • White ink acts as a solid base, allowing bold colour print on non-white or clear vinyl.
  • Up to 30 minutes of free set-up and layout.
  • By default this product is cut into courier friendly sheets. If you would like this Die Cut, please contact us to confirm if it is possible with your design
  • If you are looking for large stickers in smaller quantities, please contact us

Looking for something you don’t see here? Get in touch

R
Select files Drag File Here Accepted formats: JPG,PDF,ZIP,PNG,SVG. Max size: 25MB

Print Options

Colour Print: This is a full colour CMYK+Orange+Red print on your chosen vinyl. This option is not available for white or clear vinyl. If you are looking for this option, please click here to go to the standard sticker page.

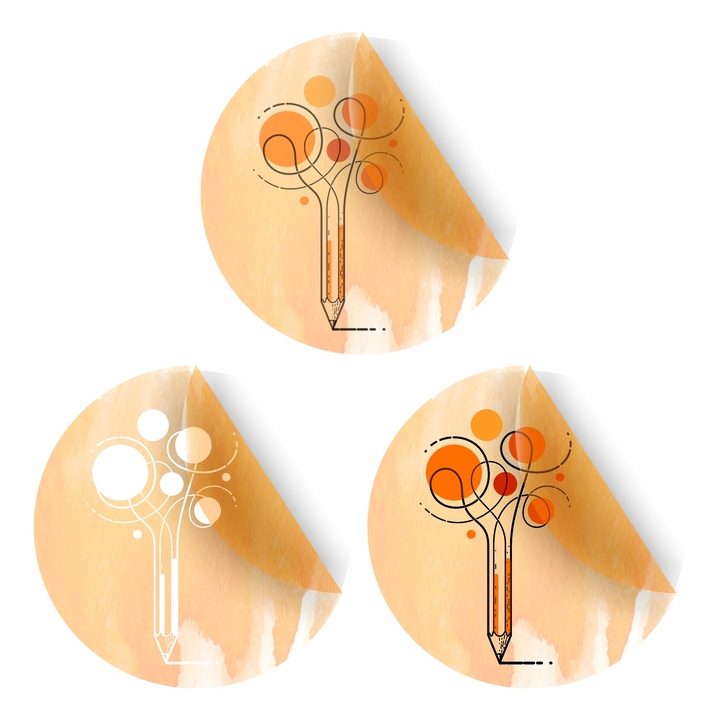
Colour Print + Spot Gloss: A finishing technique where a high-gloss, clear ink is applied to specific design elements of the print, creating a contrast between the shiny, raised UV coating and the matt surface of the vinyl/UV print, making those selected elements (like a logo or text) stand out and adding a premium, tactile feel. The clear ink can have either a glossy or a matt finish. To select a matt finish for the spot gloss, please indicate such when placing your order.

Colour print + white underlay: A white underlay is like a solid white base layer of ink printed underneath the colour inks. Mainly used with see-through clear vinyl, without this white underlay, the colours would appear translucent. The white underlay makes the colours on your clear sticker look vibrant and true, no matter what background they are placed against. It also creates a very unique print finish when used on mirror gold and silver vinyl.

Colour and white print: When white ink itself is a key part of your sticker’s look. This is different from having a full-colour sticker with a white background. It’s perfect for when you want a predominantly white sticker with specific-coloured details printed on top, letting the white truly stand out as a design element, not just a base.

Colour + White underlay + Spot Gloss: Same as above for Spot Gloss and white underlay.

White print only: Your design will be printed entirely using white ink on the chosen sticker material. If you’re printing on a coloured vinyl (like gold or silver), the white ink will appear as a solid white design against that vinyl background. If you’re printing on clear vinyl, the white ink will create a white design that is visible. Areas with no white ink will remain clear. Perfect use of this is for product labels going on dark packaging or clear packaging with a dark product.

Exclusive Print Options:

Embossing / Braille: Done using clear ink to build up layers on specific areas of your printed vinyl stickers, creating a raised and highly glossy finish that mimics the look and feel of embossing. The printer makes multiple passes over the designated areas, depositing more layers of the clear ink. These multiple layers build up a noticeable thickness, resulting in a raised surface that is also significantly glossier than the surrounding printed areas. This creates a visually striking contrast due to the shine and a tactile difference that you can feel when running your finger over the sticker (i.e. braille).

Full gloss overlay: Involves applying clear ink across the entire printed surface of the sticker. This creates a uniform, glossy finish over the complete sticker. The sticker becomes very shiny/glossy, enhancing the vibrancy of the colours and providing a smooth, slick tactile feel. Similar to doming in that you get a clear gloss layer over your sticker but does not give a thick 3D effect. Achieve a similar high-quality, premium look to doming without the higher cost.
Vinyl Options

Prepare to be impressed! Our Speciality Sticker range isn’t just a collection of funky vinyl offerings; it’s a revolution in customisation. We’re talking about the kind of stickers that turns heads, sparks conversations, and makes your branding uniquely yours.

What makes these so special? We’re thrilled to offer print options you simply won’t find anywhere else in South Africa. This isn’t an exaggeration – we’ve invested in cutting-edge technology and innovative techniques to bring you finishes and effects that push the boundaries of sticker design.  

From mind-bending textured finishes to unbelievably vibrant orange, red and green inks, our Speciality stickers are crafted to stand out. Perfect for businesses aiming to make their product branding pop, or for marketing agencies who need bespoke printing solutions to leave a lasting impression – these are the stickers designed to deliver.

Don’t settle for ordinary when you can have extraordinary. Explore our speciality sticker range and discover the future of custom stickers!
Cut into singles: select this option if you would like us to cut your stickers into single units, by hand. This option leaves the individually kiss cut sticker on a square/rectangle backing sheet.
Die cut stickers are cut precisely to the shape of your design. This means there’s no background or excess material around the artwork, making the sticker itself the focus. Please message us first to check if die cutting is an option for your print/vinyl selections.

Order Multiple Designs to enjoy bulk discounts: If you need several different designs of the same size sticker, you can order the total quantity to take advantage of our bulk pricing and then send us the individual artwork files for each design. For example, order 250 stickers and provide 5 different artwork files if you need 50 of each of your 5 variations.
Feeling a little overwhelmed with all the options? If you’re thinking “all these options sound great, but I just need a sticker” then click here to head on over to our standard sticker page.

We offer 30 min free set up and layout to prepare your files for printing, but there are elements of your design that need to be adhered to.

Preparing Your Artwork for Spot Gloss & White Ink: Essential Steps

To achieve truly stunning results with our unique Spot Gloss and White Ink effects, precise artwork preparation is crucial. Please follow these specialized guidelines in addition to our standard design instructions.

Free Setup & Artwork Preparation: How We Help

We offer up to 30 minutes of complimentary setup and layout services to help prepare your files for printing. Our team will assist in getting your artwork print-ready, but to ensure the best results, there are key design elements that need to be adhered to on your end.

1. The Foundation: Separate Vector Layers

  • For both Spot Gloss and White Ink, you must create a separate, dedicated spot colour layer within your design file. These layers are critical for telling our machines exactly where to apply the special effect.
  • All elements on these special effect layers must be vectors. Raster files (like JPEGs, PNGs, or Bitmaps) will not work directly for these effects.

2. Converting Raster to Vector (If Needed)

  • If your design includes images or shapes that are currently JPEGs, PNGs, or Bitmaps, you will need to convert them to vectors. Most design software offers a "trace" or "image trace" function to do this.
  • Important for Text: The trace function does not work reliably for text. Any text you wish to have a special effect applied to must be created as vector text within your design software.

3. Assigning Unique Spot Colours

  • Choose a specific spot colour that is not present anywhere else in your main design to represent your special effect layer(s).
  • If you are using BOTH White Ink & Spot Gloss: Select two distinct spot colours, neither of which is in your design. Clearly indicate which colour is for "Spot Gloss" and which is for "White Ink" (e.g., in your file name or an accompanying note).

4. Optimizing Your Special Effect Layer

  • Best Practice: Aim to have a single vector object for each special effect layer. This means "welding" or combining all individual vector paths that make up your effect into one unified shape. This ensures seamless application and simplifies the printing process.
  • Crucial for Layer Visibility: When working with these special effect layers, please remember that if a special effect object is present on its dedicated layer, it will be printed. Simply "hiding" an element (e.g., by placing a white shape over it in your main design) will not prevent the special effect from being applied beneath it. Our print software sees the special effect layer regardless. 
    • Example: If you want a circle with a smaller, un-glossed/un-whited circle in its centre, you must create the outer object by trimming or removing the inner circle from it. This leaves a "hole" in the special effect layer, ensuring the inner area receives no effect.

5. File Submission: Structured Pages for Clarity

  • For best results and to ensure accuracy, please send us your design as 2 or 3 separate pages (or artboards) within a single design file PDF): 
    • Page 1: Your Main Design with Kiss Cut Line. This page should contain your complete, full-colour artwork, including the vector line for the cutting path.
    • Page 2: Special Effect Layer(s). This page should be a direct copy of your design from Page 1. Crucially, remove all elements that do not require a special effect. The remaining elements (which do receive the effect) should be filled with your chosen unique spot colour(s) for White Ink and/or Spot Gloss.
    • (If using both White Ink and Spot Gloss, you might choose a Page 2 for White Ink and a Page 3 for Spot Gloss, each with its designated spot colour.)

6. Canva User Specifics

  • If you are designing in Canva, please save your final artwork as an SVG file to ensure your design elements are exported as vectors, which is essential for applying special effects.

Visual Guide:

  • Please refer to our diagram on this page for a clear visual explanation of how to structure your multi-page design file for special effects.

Pull Up Banners

Additional information

Weight 0.2 kg
Dimensions 33 × 24 × 2 cm