
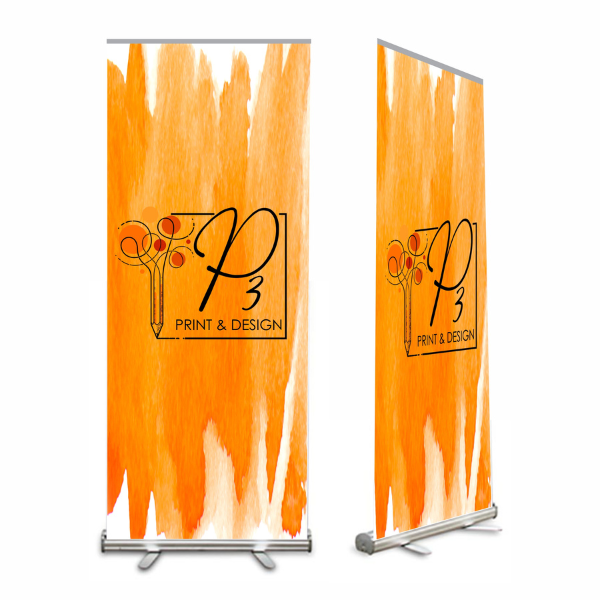



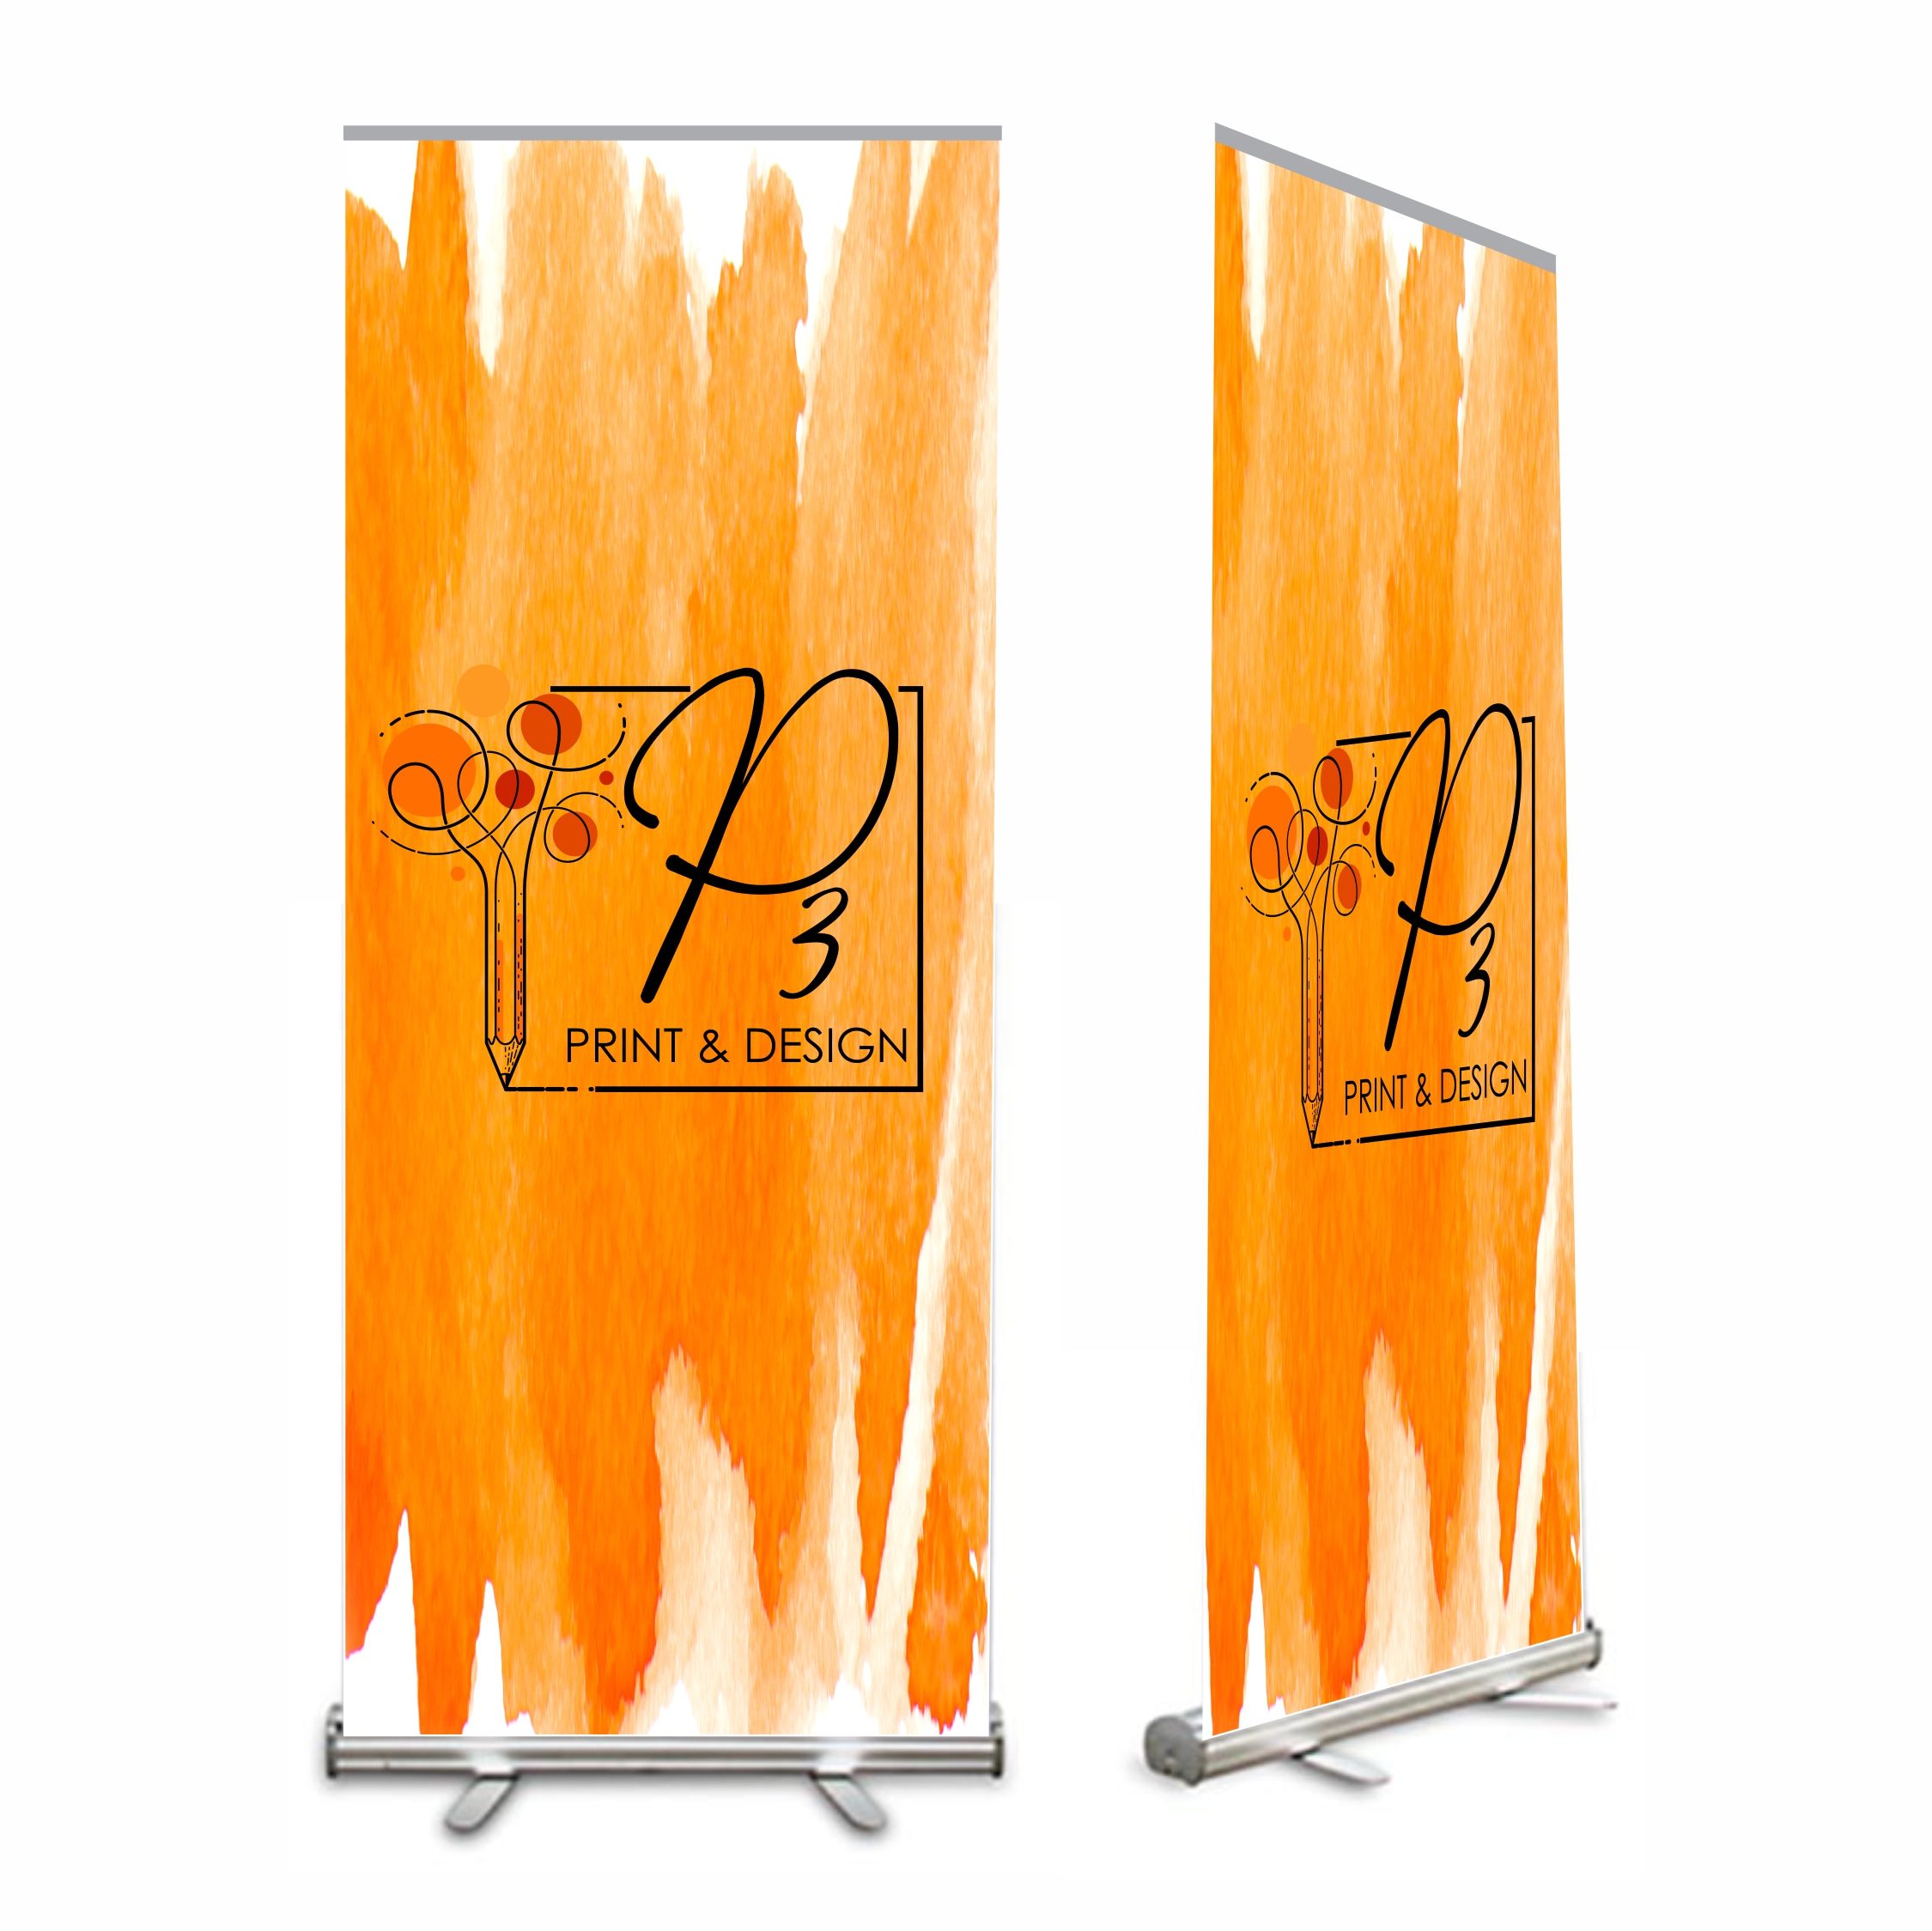
A portable and retractable advertising display, ideal for exhibition displays, showrooms, reception areas, stairs, corners, meetings, conferences and other indoor or outdoor events.
Pull up banners are versatile, easy to transport and very easy to install.
Printed on non-curl grey back PET; a smooth, waterproof, rip-resistant material that offers a balance of durability and exceptional print quality.You can choose between the economy stand, which offers great value for budget-conscious projects, and the executive stand, which provides a premium and durable option for a more sophisticated presentation. For ease of transport, every pull-up banner is lightweight and includes a dedicated carrying bag. If you are flying/travelling with the banner, the lighter option is the econo unit, weighing 3kg’s with a packing space of 10cm x 10cm x 90cm.Banner units are made of aluminium, supplied with printed banner, 3-part “tent pole” and bag. The pull up mechanism has a 6 month warranty if it stops pulling. Please note that this is only on the pulling mechanism and does not cover knock damage or tearing.While they may be used outdoors they are not intended to withstand all weather conditions. Do not leave your banner unit in the sun, the heat will soften the glue that holds the banner in place and you stand a chance of the banner separating from the unit.
Pull Up Banners
From R700
- Also known as roll up banners, exhibition banners, pop up banners or retractable banner stands
- Free standing & portable (supplied with carry bag)
- Cost effective promotional advertising tools
- Simple operation – lightning-fast assembly without tools
Looking for something you don’t see here? Get in touch
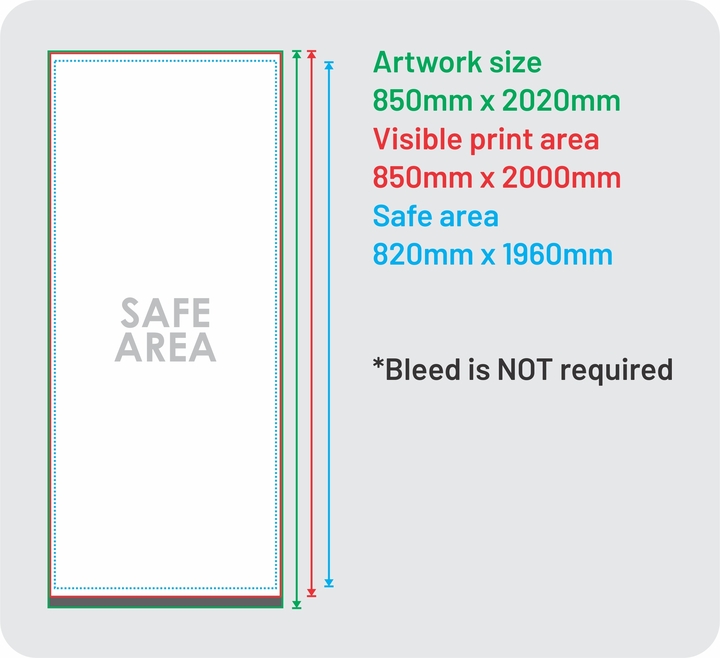
- The finished visible size of Pull Up Banners is 850 x 2000mm
- Bleed is not required
- Artwork must be supplied to size, 850mm x 2020mm
- The safe area for design elements is 820 x 1960mm
- Background should be the full artwork size, and critical design elements should be kept within the safe area.
- Safe area = 20mm from the top, 40mm from the bottom and 15mm on either side
- Resolution: All raster images (photos, etc.) must be at a minimum resolution of 150 DPI at 100% scale for large format printing. 300 DPI is preferred for optimal quality.
- Preferred colour mode: CMYK
- Fonts must be completely imbedded or converted to curves
- Flatten layers to reduce file complexity
- Flatten all transparency effects (e.g., drop shadows, glows, gradients) to avoid rendering issues in CorelDRAW.
- Rasterize effects where necessary.
- All design files must adhere to the specifications outlined in our comprehensive design brief, which can be accessed here
Setting Up Process:
1. Remove the stand from the carry case.
2. Turn the legs outwards and assemble the pole.
3. Insert the Pole into the Base (Critical Step):
1. Remove the stand from the carry case.
2. Turn the legs outwards and assemble the pole.
3. Insert the Pole into the Base (Critical Step):
- Locate the Pole Insertion Point: Inside the base, you’ll find a designated hole where the bottom of the support pole fits.
- Align the Pole: Carefully align the bottom of the support pole with the insertion point.
- Insert the Pole Fully: Gently but firmly push the pole straight down into the base.
- Ensure the pole is inserted all the way to the bottom of the unit. You should feel it seat securely.
- Verify Secure Insertion: Gently try to wiggle the pole. It should be firmly seated and not move. If there is movement, remove the pole and reinsert it, ensuring it goes all the way down.
4. Gently pull the print upwards from the stand, making sure the edge of the print doesn’t hit the edges of the stand.
5. Secure the top of the banner to the support pole using the provided clipTaking Down Process:
1. Firmly hold the top rail of the banner, while maintaining a steady hold on the rail, detach it from the support pole
2. Gently guide the banner back into the base, allowing it to retract smoothly, making sure the print doesn’t hit the edges.
3. Fold the pole and put it in the carry case/base/back of unit.
4. Fold the legs of the stand and place it in the carry case.Store the banner in a dry location, away from extreme temperatures.
Important: Do not expose the pull-up banner to extreme temperatures. This can cause the adhesive holding the banner to the base to fail, resulting in damage (not covered by the 6 month warranty)
Can be used outdoors, but keep away from direct sunlight and excessive heat.
5. Secure the top of the banner to the support pole using the provided clipTaking Down Process:
1. Firmly hold the top rail of the banner, while maintaining a steady hold on the rail, detach it from the support pole
2. Gently guide the banner back into the base, allowing it to retract smoothly, making sure the print doesn’t hit the edges.
3. Fold the pole and put it in the carry case/base/back of unit.
4. Fold the legs of the stand and place it in the carry case.Store the banner in a dry location, away from extreme temperatures.
Important: Do not expose the pull-up banner to extreme temperatures. This can cause the adhesive holding the banner to the base to fail, resulting in damage (not covered by the 6 month warranty)
Can be used outdoors, but keep away from direct sunlight and excessive heat.
Additional information
| Weight | 5 kg |
|---|---|
| Dimensions | 90 × 12 × 12 cm |